Missing Cyan, Magenta or Yellow: Investigate Printer Color Loss
When one color-looking area disappears, begin with controlled color-oriented references and the printer's own diagnostic report if it has one. A browser print can reproduce the symptom, but the exact physical cause depends on printer technology, settings, supplies and the model-specific color pipeline.
Step 1: Print CMYK-Oriented Reference Blocks
Use the CMYK-oriented test page. Compare the cyan-, magenta-, yellow- and black-looking reference areas and note whether mixed colors shift too. Because browser/driver color conversion can mix physical channels, confirm a suspected supply/nozzle path with the printer's own diagnostic report.
Visual Examples: Complete CMYK vs Missing or Washed-Out Color
Use these examples to compare the visible symptom first. A photo can show what is missing or weak, but it cannot identify the failed part by itself.
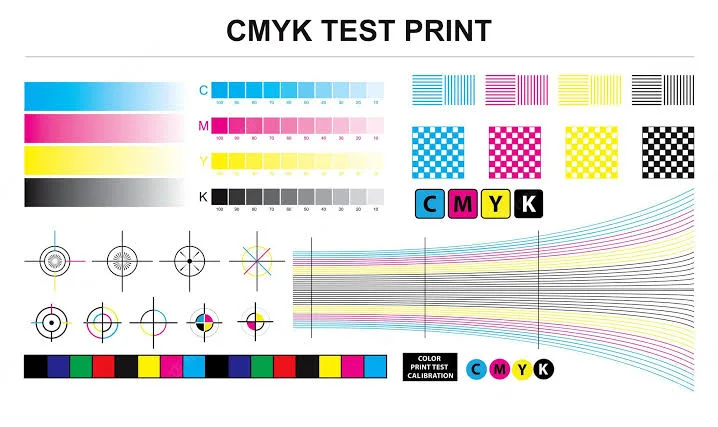
Illustrative reference showing four CMYK-oriented color areas and alignment targets. This is a reference graphic, not a photographed printer result.
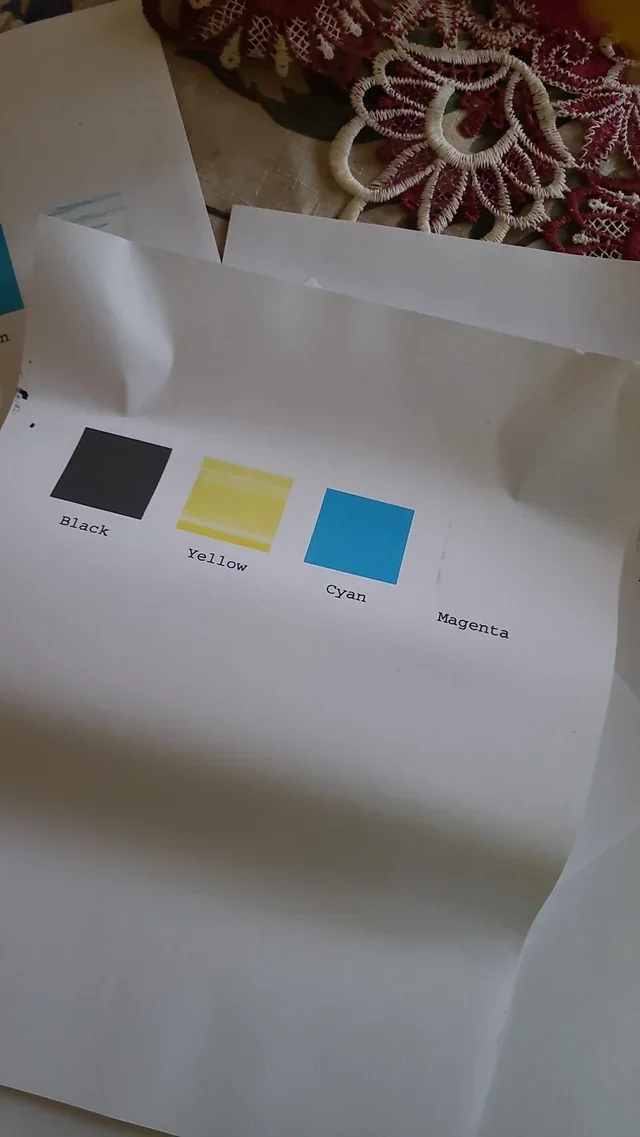
The photographed sheet shows black, yellow and cyan output while the magenta area is absent. Printer model and print settings were not supplied, so this demonstrates the symptom rather than a specific cause.
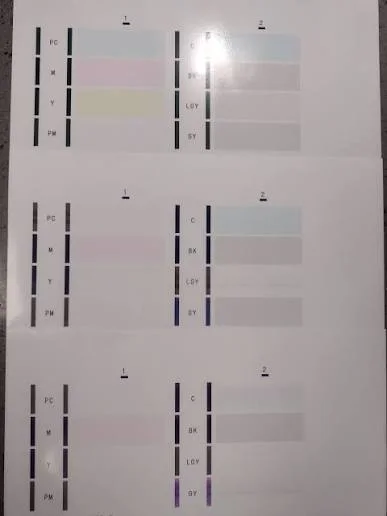
Pale or uneven color-reference blocks are different from a completely absent-looking color area. Compare the printer's built-in diagnostic report before deciding whether the cause is supply, nozzles, toner, settings or another print-system issue.
Step 2: If It Is an Inkjet
Check ink/tank/cartridge status and print the manufacturer's built-in nozzle check. Gaps can support a clogged-nozzle or ink-delivery diagnosis, but low ink, an unvented tank/cartridge, air in a supply path, a badly seated cartridge or hardware faults can look similar. Follow the model documentation before deep cleaning or ink flushing.
Step 3: If It Is a Color Laser
Inkjet nozzle cleaning is irrelevant. Check toner status, cartridge seating and the printer's internal print-quality/calibration report. A single weak color can involve toner supply, imaging/developer components, transfer behavior, calibration or another model-specific issue.
Step 4: Separate Hardware From Color Management
If the printer's own channel/nozzle/quality report is complete but photographs still have the wrong hue, inspect media type, driver color settings, application color management, calibration and whether the source color lies outside the printer/paper gamut. That points the investigation away from a simple missing-supply explanation.